Use desktop dictation (Whisper flow) to turn speech into text for an email, document, or prompt. In the Siesta AI app for Windows and macOS, you will find this feature under Wisps.
Speak, check the transcript, and paste it where you need it. For the settings on each platform, see the Windows App and macOS App.
Use Siesta AI Desktop for Windows or macOS and allow the app to access your microphone.
On Windows, your organization needs a configured voice transcription connection. On macOS, choose On-device (Apple) or your Organization transcription provider; Apple dictation also needs Speech Recognition permission.
Choose a quiet place and decide where you want to paste the text.
Download the Siesta AI Desktop App. Choose your system, install the app, open it, and sign in. If you already have it, open it and continue.
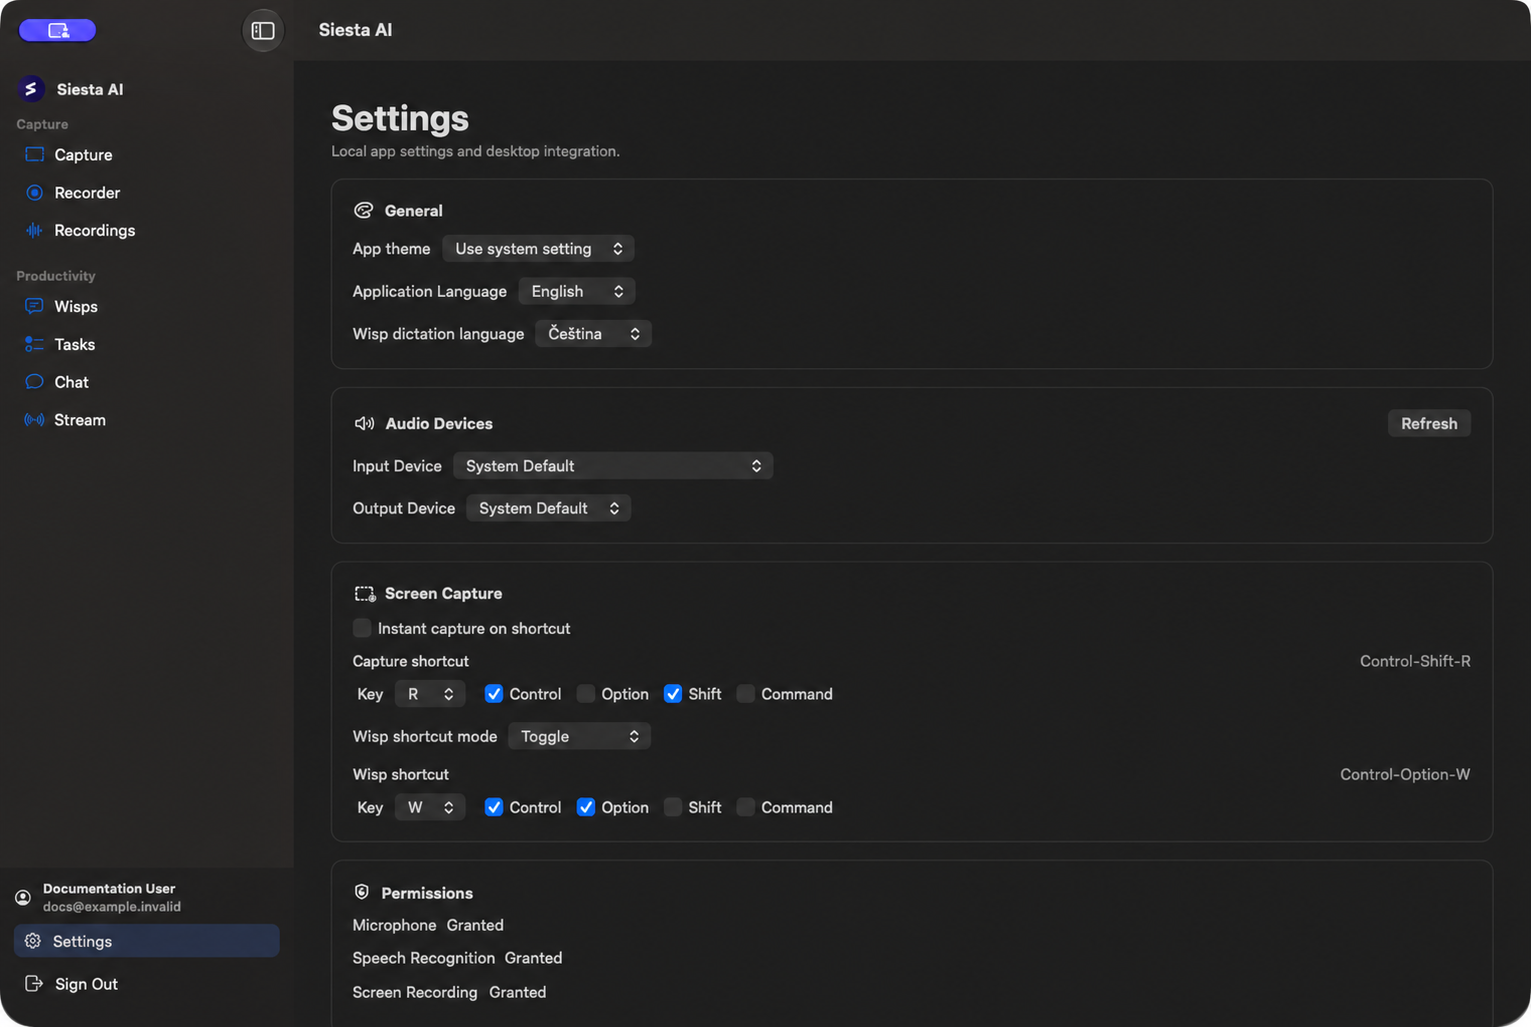
In Settings, check your microphone, dictation language, and shortcut. On Windows, the shortcut is under Wisps. On macOS, the language and transcription engine are under General, and Wisp shortcut and its mode are under Screen Capture. Use the shortcut shown in your app.
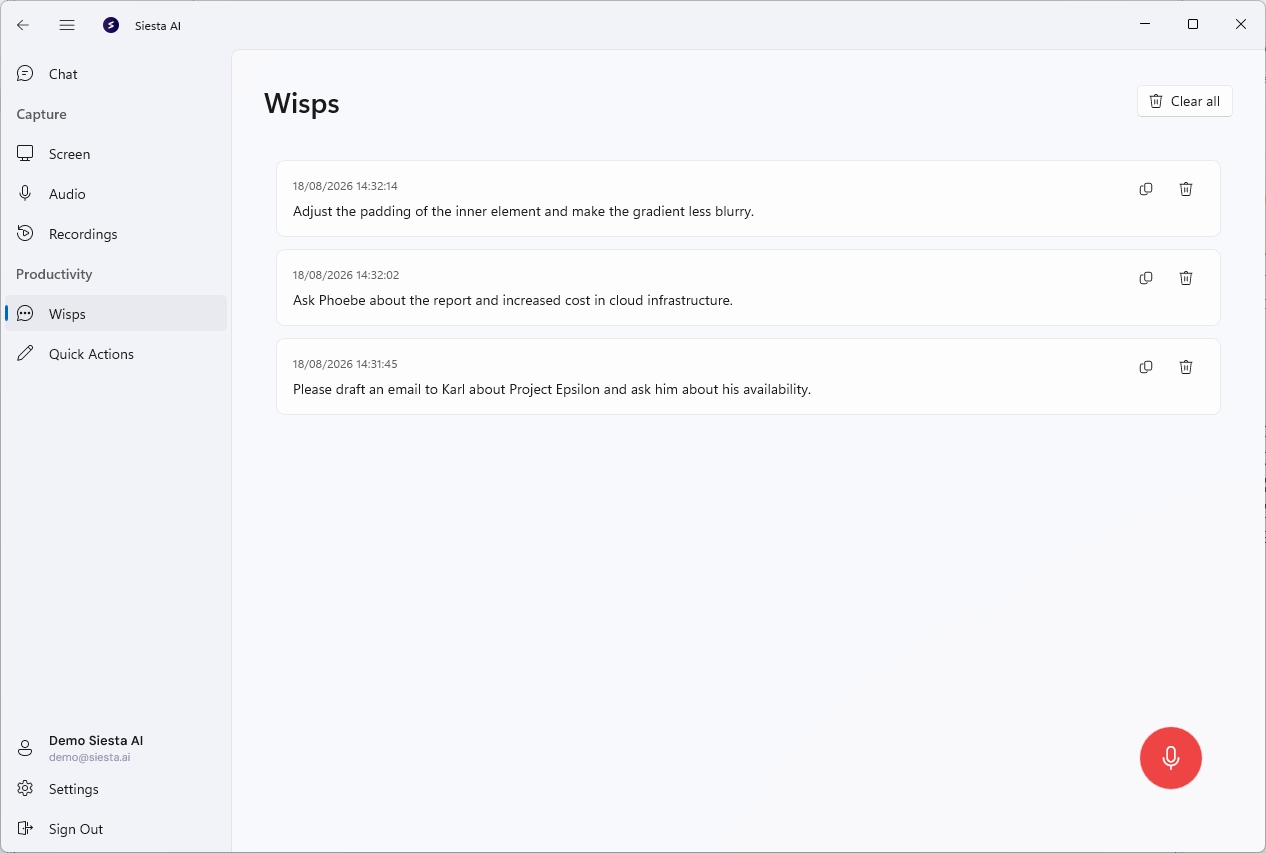
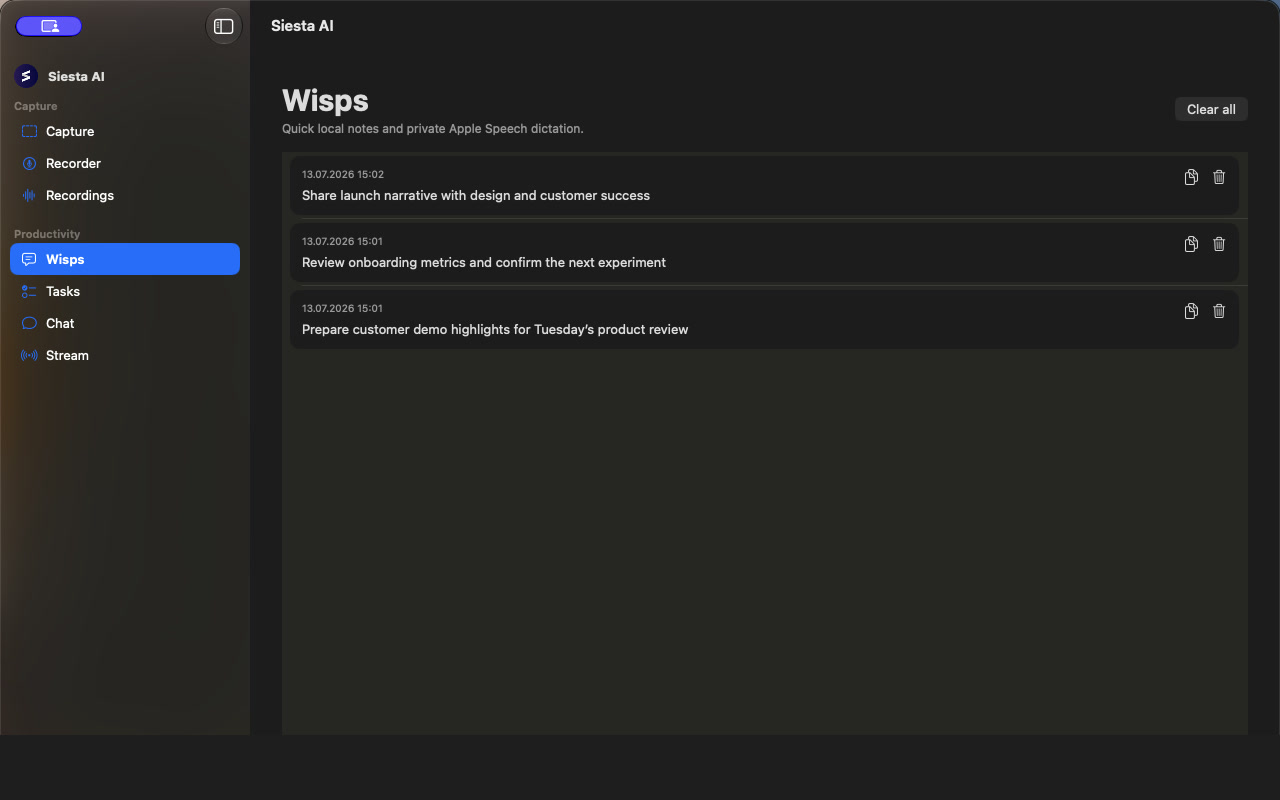
Open Wisps and click the microphone button. Speak a short sentence or paragraph, stop recording with the same control, and wait for the transcript.
To dictate while working in another app, keep Siesta AI running and use your configured shortcut. In Push to Talk mode, hold it while speaking and release it to finish. On macOS, Toggle mode starts recording with one press and stops it with the next.
Windows: open Wisps and use the microphone button, or dictate with your configured shortcut.Platform guide: Windows Wisps
3
Check And Paste The Text
Read the transcript in Wisps and click the copy icon beside it. Return to your email, document, or message field and paste with Ctrl+V on Windows or Cmd+V on macOS. Windows also copies a completed transcript to the clipboard automatically.
Correct names, numbers, and punctuation in the destination app before sending or saving. Your local Wisps history lets you copy the text again later.
The email draft should contain your complete message, including the correct time. Check that nothing is missing or repeated, then decide whether to send it.
No sound: check the selected input device and the app's microphone permission.
The shortcut does nothing: check it in Settings and try the microphone button in Wisps. On macOS, also check Accessibility permission for global shortcuts.
No transcript or wrong language: check the dictation language. For organization transcription, check your connection and ask your administrator to verify the voice transcription provider; for Apple dictation, check Speech Recognition permission.