This is the north star for authoring documentation. Every pattern below is approved and maintained. Reach for these building blocks before writing custom markup, and if something is missing, add it here first so the docs stay consistent.
Headings
The typographic scale for page structure. Use one H1 per page, then nest H2–H5 in order. Never skip a level to get a smaller size.
H1
Build effective agents
H2
Connect your tools
H3
Set up a secure connection
H4
Choose an authentication method
H5
Rotate credentials regularly
Body
Body copy sits below headings. Keep paragraphs short and scannable, and prefer plain language over jargon.
# Page title (H1)
## Section (H2)
### Subsection (H3)
#### Detail (H4)
##### Fine print (H5)
Navigation cards
A responsive grid of linked cards with an icon, title, and description. Use it to point readers toward the next relevant page.
{title:'Get started',description:'Learn the essentials.',to:'/user-guide',icon:Rocket},
{title:'Build agents',description:'Configure tools and knowledge.',to:'/agents',icon:Bot},
]}
/>
Image card
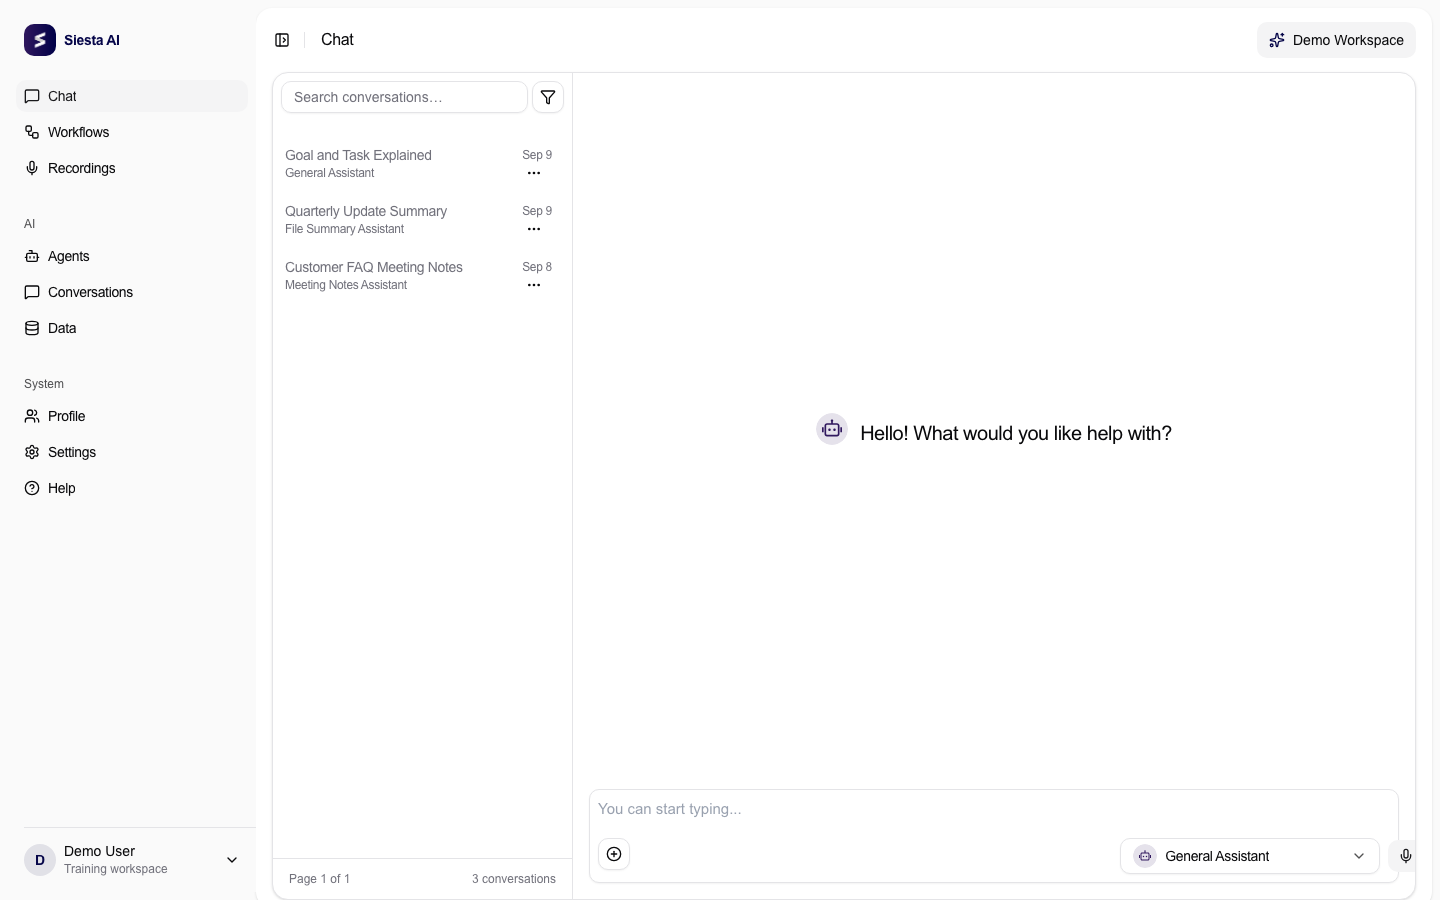
A framed screenshot or illustration with a title and description. Use it to introduce a screen or feature visually. Pass `to` or `href` to make the whole card a link.
description="Link assistants to 100+ tools and data sources."
to="/connections"
/>
Step-by-step guide
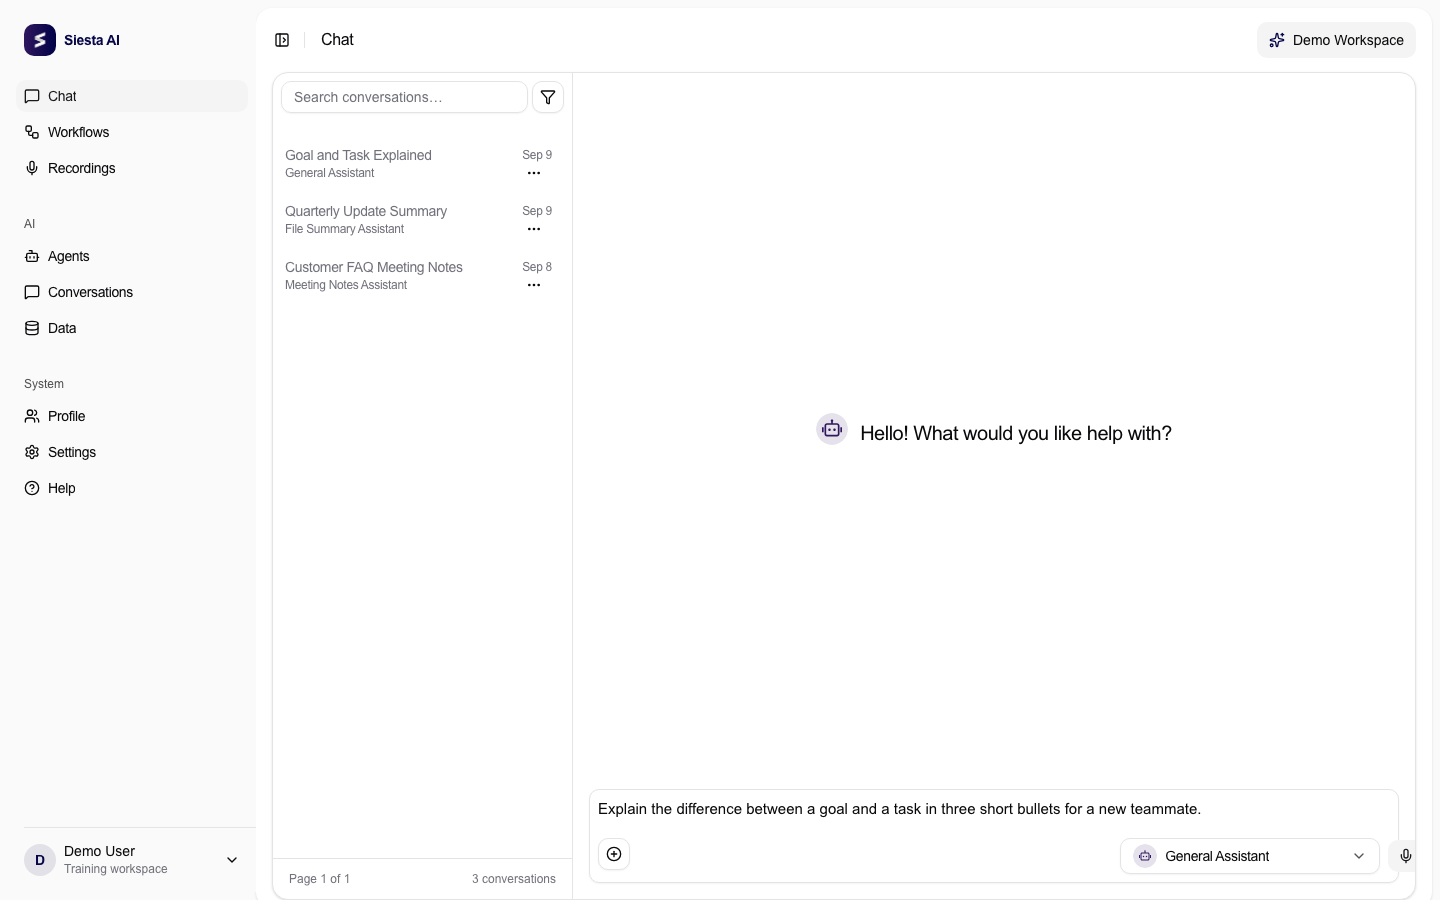
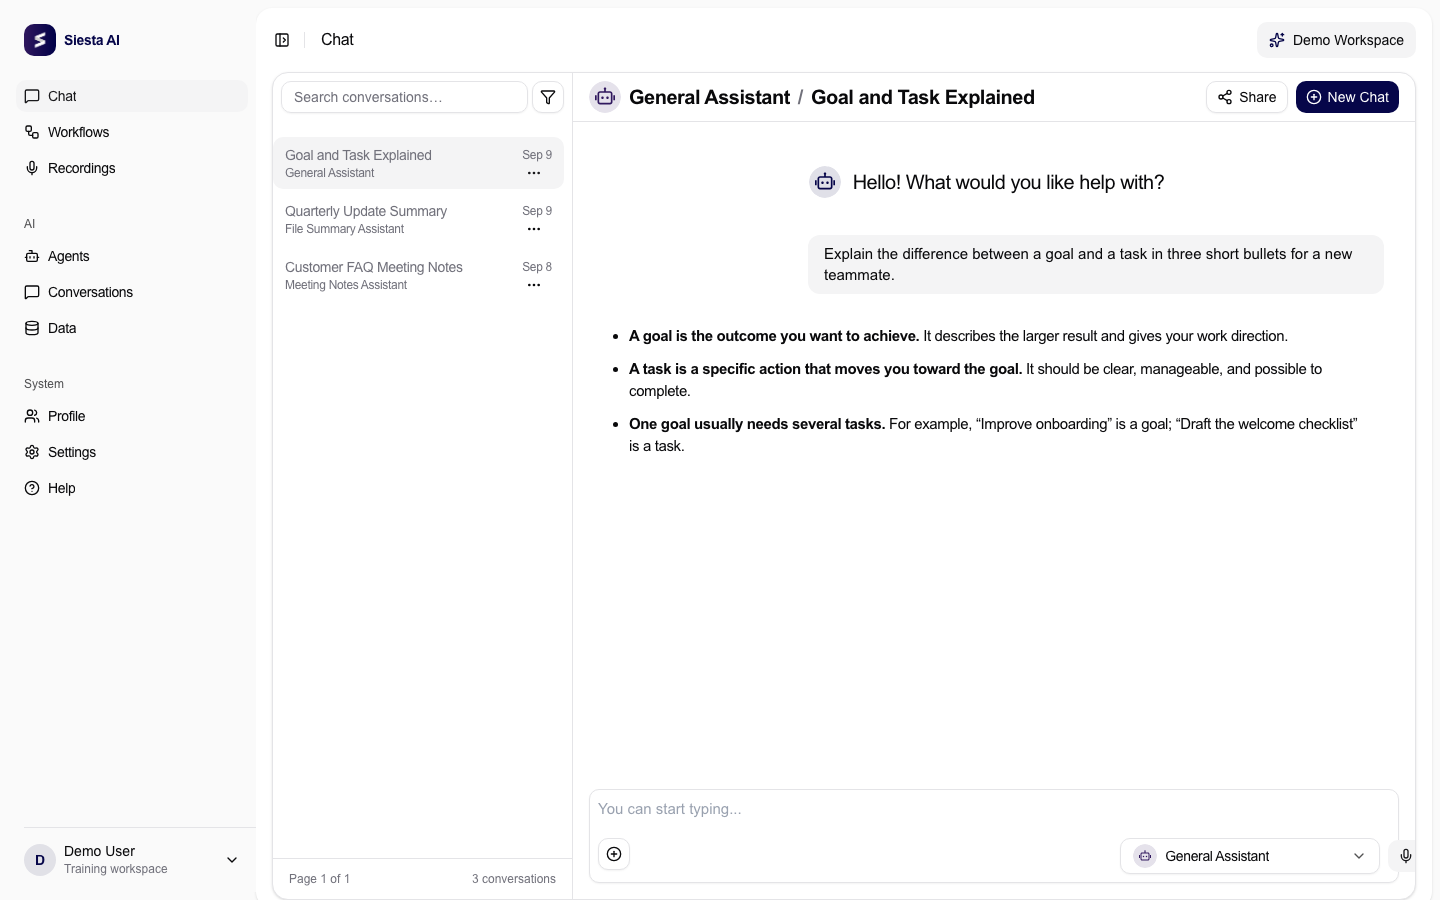
A numbered instruction with an optional screenshot and a direct link to the detailed Platform documentation. Personal Productivity workflows use two or three complete steps. Longer screenshot guides may use up to six.
1
Open Chat
Start with one clear outcome and the source the agent should use.
imageAlt="Siesta AI Chat response formatted as concise bullet points"
imageCaption="Check the answer before using it."
platformHref="/chat#feedback-on-responses"
platformLabel="Feedback on responses"
platformText="Platform guide: Feedback on responses">
Confirm that the answer matches the requested scope and format.
</GuideStep>
</GuideSteps>
Multi-platform step-by-step guide
Use platform tabs only when the same outcome has materially different steps. For Personal Productivity, put two or three complete steps inside each production tab; longer screenshot guides may use up to six. The compact preview below shows one representative card per platform.